
A better Text-to-Speech (TTS) AI model
In this article, you will learn how to install and configure Coqui AI to perform high-quality Text-to-Speech (TTS) conversion. We will guide you through the requirements, installation steps, and how to use Coqui AI through its web interface and integrate it with Ozeki AI for automated speech generation. By following this tutorial, you'll be able to set up a private, powerful, and customizable TTS system on your own server, allowing you to convert text into natural-sounding speech efficiently. Whether you're building voice-enabled applications, chatbots, or accessibility tools, this guide gives you everything you need to get started with Coqui AI TTS technology.
What is Text-to-Speech (TTS)?
Text-to-Speech (TTS) is a technology that converts written text into spoken voice output. It allows computers or devices to "read" text aloud using synthetic voices. TTS is widely used in applications like voice assistants, screen readers for visually impaired users, language learning tools, and automated customer service systems. It helps make digital content more accessible and interactive.
What is Coqui AI?
Coqui AI is an open-source project focused on developing advanced speech technologies, including Text-to-Speech (TTS) and Speech-to-Text (STT) systems. Coqui AI provides tools that allow users to generate high-quality, natural-sounding speech from text using machine learning models. It is designed for developers who need flexible, customizable, and private speech solutions that can run on local servers without depending on third-party cloud services.
Requirements
- Python 3.10: https://www.python.org/downloads/release/python-31011/
- espeak-ng: https://github.com/espeak-ng/espeak-ng/releases
- Microsoft Build tools: https://visualstudio.microsoft.com/visual-cpp-build-tools/
- Coqui AI TTS: https://github.com/coqui-ai/TTS
How to install Coqui AI to do Text to Speech conversion (Quick Steps)
- Install Python 3.10
- Install PIP and add Python to environment variables
- Download and install espeak-ng
- Install Microsoft Build Tools
- Download Coqui TTS source files
- Install TTS dependencies
- Run setup script
How to use the Coqui AI web interface to convert text to Speech (Quick Steps)
- Run Coqui TTS server
- Wait for the TTS server to start
- Open a browser
- Enter your text
- Click "Speak"
- Download or play the generated .wav file
How to use Coqui AI TTS from Ozeki AI (Quick Steps)
- Launch Ozeki AI
- Create a new TTS Web model
- Create a new AI Chat Bot
- Enable the AI Chat Bot
- Send a text message
- Receive the generated MP3 file
- Download and listen to the MP3 file
How to install Coqui AI to do Text to Speech conversion (Video tutorial)
In this video, you will learn how to set up Coqui AI for text-to-speech (TTS) conversion on a Windows system. The tutorial guides you through downloading and installing Python 3.10, setting up essential components like PIP, environment variables, and additional dependencies such as espeak-ng and MS Build Tools. You’ll see how to download the TTS source files, copy them to the proper folder, and complete the installation using command line tools. By the end of the video, you will have a fully functional Coqui TTS environment, ready to convert text into natural-sounding speech with the help of Python.
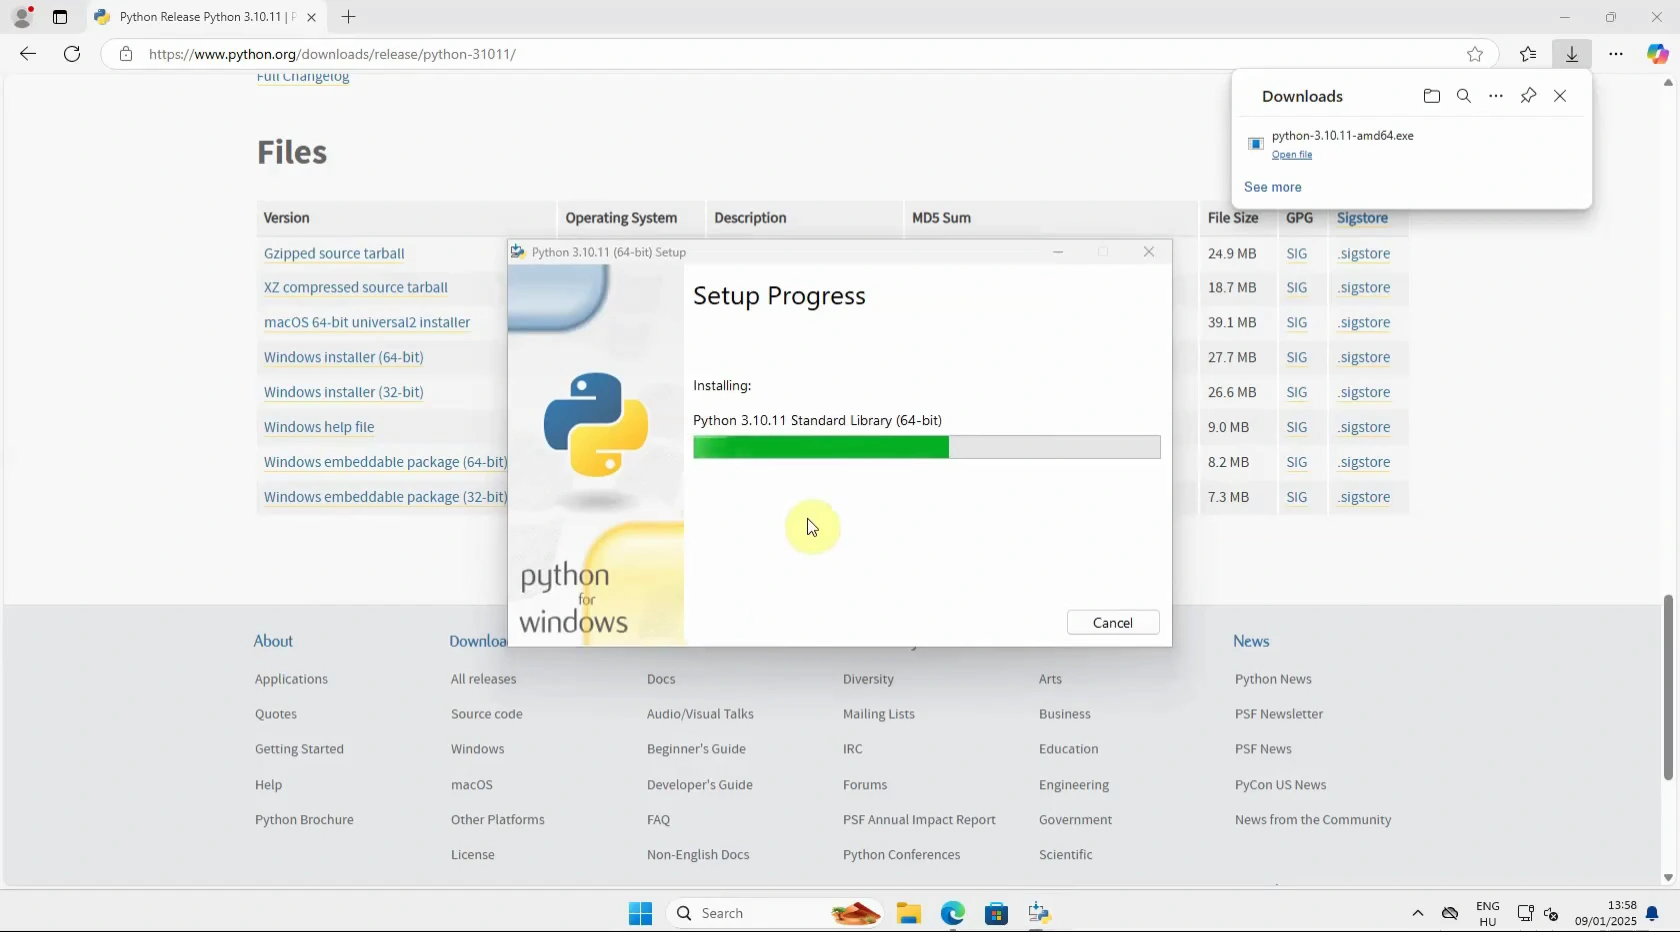
Step 1 - Download Python 3.1
Download the Python 3.10 installer from the official Python website to your local computer. This version ensures compatibility with Coqui TTS (Figure 1).

Step 2 - Customize installation
Launch the Python installer and choose the "Customize installation" option to manually configure the installation options (Figure 2).

Step 3 - Customize installation
During the customization, ensure the "pip" option is checked. PIP is needed to install Python packages required for TTS (Figure 3).

Step 4 - Add python to environment variables
Make sure to select the checkbox to "Add Python to environment variables" during installation to easily access Python from the command line (Figure 4).

Step 5 - Python installation process
Proceed with the Python installation process and complete the setup by following the installer instructions (Figure 5).
Step 6 - Download easpeak-ng
Download the espeak-ng package, which provides necessary speech synthesis tools required by Coqui TTS (Figure 6).

Step 7 - Install espeak-ng
Install the downloaded espeak-ng package on your system to enable backend support for text-to-speech functions (Figure 7).

Step 8 - Download MS Build tool
Go to the Microsoft website and download the MS Build Tools installer. This tool is needed to compile Python packages (Figure 8).

Step 9 - Install build tool installer
Run the downloaded installer for the MS Build Tools to start setting up the necessary build environment (Figure 9).

Step 10 - Install build tool
Select the desired workload (e.g. "Desktop development with C++") and tick the options shown in the picture on the right under the "Installation details" menu and finish the installation (Figure 10).

Step 11 - Build tool installation process
Wait for the MS Build Tool installation process to complete. This setup is crucial for successfully building Coqui TTS dependencies (Figure 11).

Step 12 - Download TTS sources
Download the source code for Coqui TTS from the official GitHub repository or from the Huggingface. Click on the green "Code" button, then "Download ZIP" (Figure 12).

Step 13 - Copy source files
After downloading, copy all the TTS source files from the archive (Figure 13).

Step 14 - Paste source files to TTS folder
Paste the copied files into "C:\\TTS\" project directory where you will configure and build the TTS system (Figure 14).

Step 15 - Open CMD as administrator
Open a Command Prompt window with administrator rights to install packages and set up TTS without permission issues (Figure 15).

Step 16 - Install TTS requirements
Navigate to your TTS folder and run the command:
pip install -r requirements.txt
This installs all necessary Python libraries for TTS to operate (Figure 16).

Step 17 - Setup TTS
Finally, run the setup script by executing:
python setup.py develop
This links the source files and completes the TTS installation, making it ready for use (Figure 17).

How to use the Coqui AI web interface to convert text to Speech (Video tutorial)
In this video, you will learn how to launch and use the Coqui AI TTS (Text-to-Speech) web interface to convert written text into spoken audio. The tutorial begins with running the tts-server command in server mode using a pre-trained voice model. Once the server is active, you'll see how to access the Coqui GUI through your web browser, enter your text, and generate a speech output in just a few clicks. By the end of the video, you’ll understand how to create high-quality .wav audio files from text input, making this a simple and powerful way to bring voice to your applications using Coqui AI.
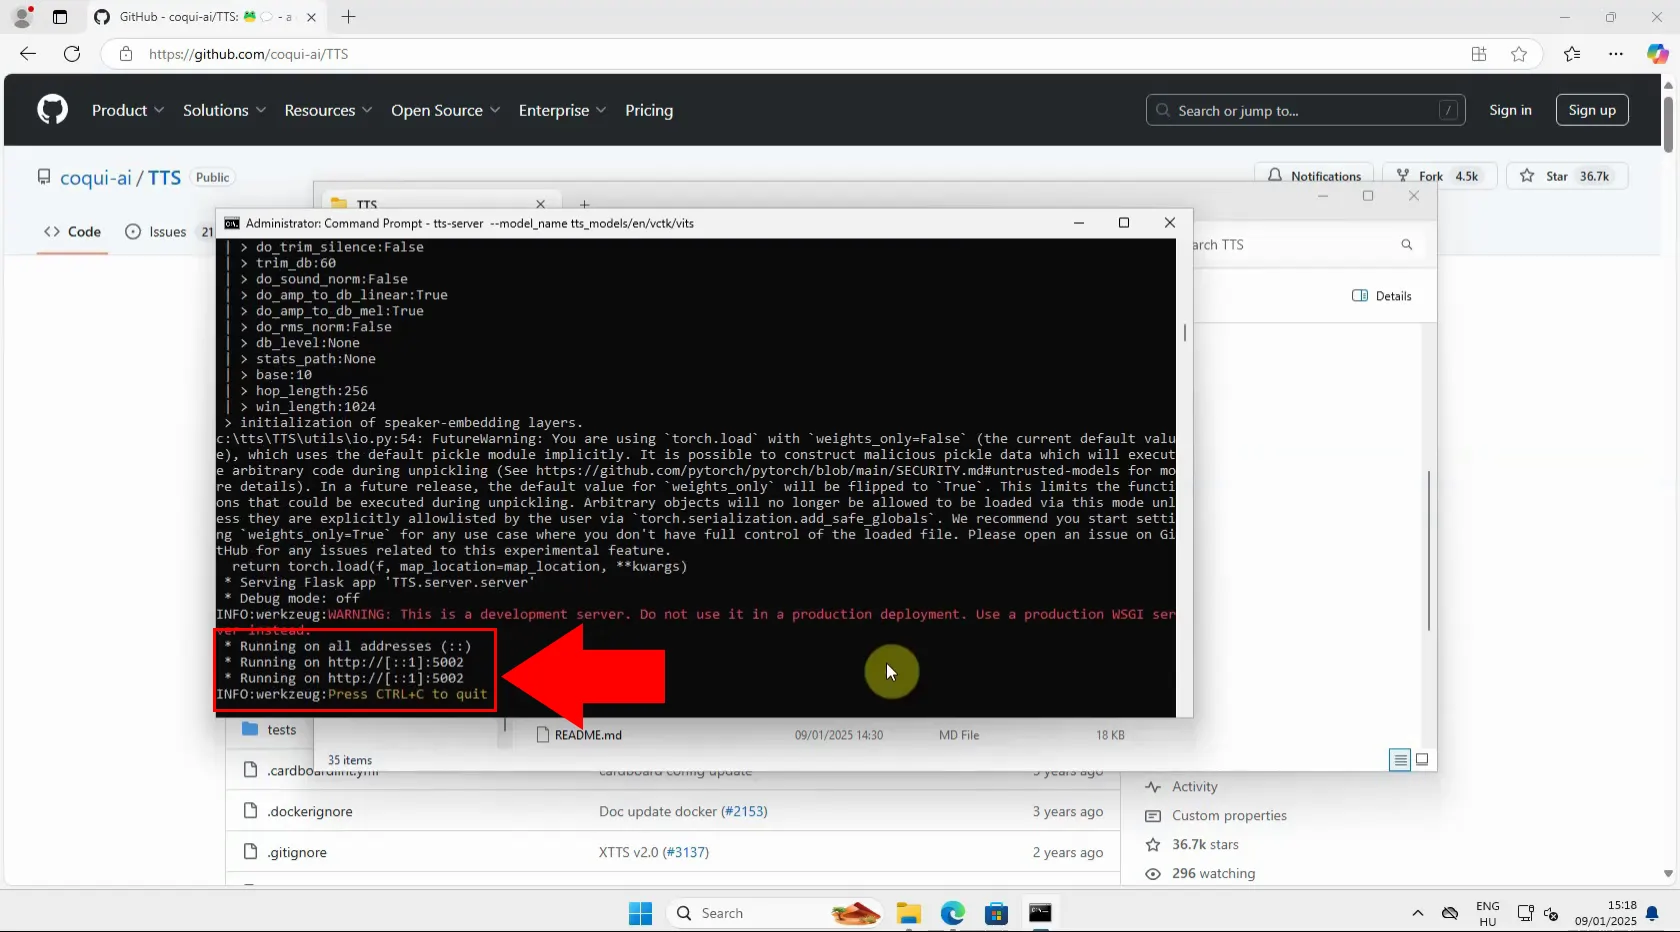
Step 18 - Run TTS in server mode
Open a terminal and run the following command to launch Coqui AI's TTS engine in server mode:
tts-server --model_name tts_models/en/vctk/vits
This will start a local web server that hosts the TTS user interface (Figure 18).

Step 19 - TTS server started
Once the server is running, you’ll see a message indicating that the TTS server has started successfully and is ready to accept requests (Figure 19).
Step 20 - Open TTS server GUI
Open your browser and navigate to http://localhost:5002. This will load the Coqui TTS web interface, where you can input text and perform speech synthesis (Figure 20).

Step 21 - Convert Text to Speech
Enter your desired text in the input box and choose a speaker, then click the "Speak" button. The system will process the text and generate the spoken audio (Figure 21).

Step 22 - Wav file cretaed
After processing, a .wav file will be generated and available for download or playback. This file contains the audio output of your text converted to speech (Figure 22).

How to use Coqui AI TTS from Ozeki AI (Video tutorial)
In this video, you will learn how to integrate the Coqui AI Text-to-Speech (TTS) server with Ozeki AI to automate speech generation. The tutorial guides you through adding a new TTS Web model in Ozeki AI, configuring the TTS server URL, and linking it to a chatbot. You'll see how to send text messages to the chatbot, receive synthesized speech as an MP3 file, and download the generated audio directly. By the end of the video, you will have a fully functional setup where Ozeki AI communicates with Coqui AI TTS to convert text inputs into speech outputs automatically.
Step 23 - Open Ozeki AI
Launch the Ozeki AI application to start setting up the TTS integration with Coqui AI (Figure 23).

Step 24 - Add new TTS Web mode
Let's create a new TTS Web mode. Click on "AI Models" at the top of the screen. Click on the blue "Create new AI Model" button. On the right side you will see different options, select the "TTS Web" menu (Figure 24).

Step 25 - Set TTS server URL
Enter the URL address of your running Coqui AI TTS server (e.g., http://localhost:5002/api/tts?text={prompt}&speaker_id=p230) into the configuration settings (Figure 25).

Step 26 - Create new AI Chat bot
At the top of the screen, select "AI bots". Press the blue "Create new AI Chat Bot" button, then select "AI Chat" on the right (Figure 26).

Step 27 - Select model
Then select the already created "text_to_Speech_Web_1" and untick the "Send welcome message.", then press "Ok" (Figure 27).

Step 28 - Enable chat bot
To enable the AI Bot, turn the Status switch to green (Figure 28).

Step 29 - Send text to convert
Type a text message into the chatbot's interface and send it. The message will be forwarded to the Coqui AI TTS server for audio generation (Figure 29).

Step 30 - MP3 file received
After sending the text, an MP3 audio file containing the spoken version of the text will be automatically generated and received (Figure 30).

Step 31 - Download MP3 file
Click to download the MP3 file to your computer and listen to the speech output created from your text input (Figure 31).
